Do you have baby clothes taking up space in your cupboards? Sharing them onwards for others to use is always a great first option. Then, sometimes they are just too adorable to part with, or are firm favourites associated with other memories or people.
Make bunting out of them! It is very easy, fun and attractive and you get to enjoy the nostalgia whenever you celebrate.
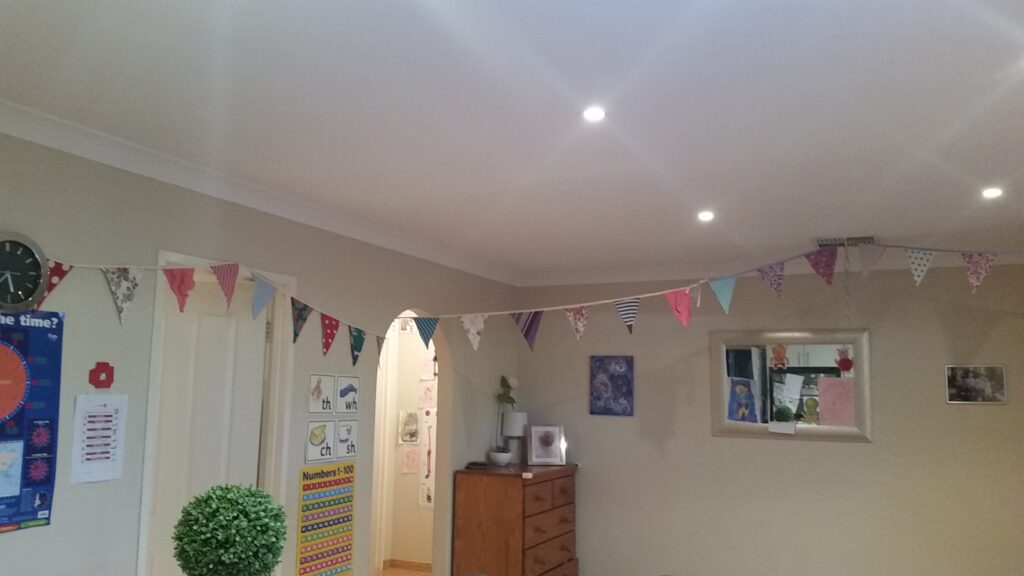
We always hang ours the night before a family birthday so the special person wakes up to some festive and happy vibes. No-one is too old for cheerful decorations.
Benefits you get from your bunting:
- Clear out storage space
- Give practical purpose to sentimental items so they are useful.
- You will never be without party decorations.
- Personalised to you and your family, with great memories
- No cost (or very low cost if you don’t have ribbon) – for life!
- Keeps fabrics out of landfill
- No plastic, just elegant, fresh and clean
- Machine washable
- You can add to them as the kids get older and grow like weeds
- Stow away tidily so you can always find them when you need to
- Can be passed down generations if you take good care of them
How to make them:
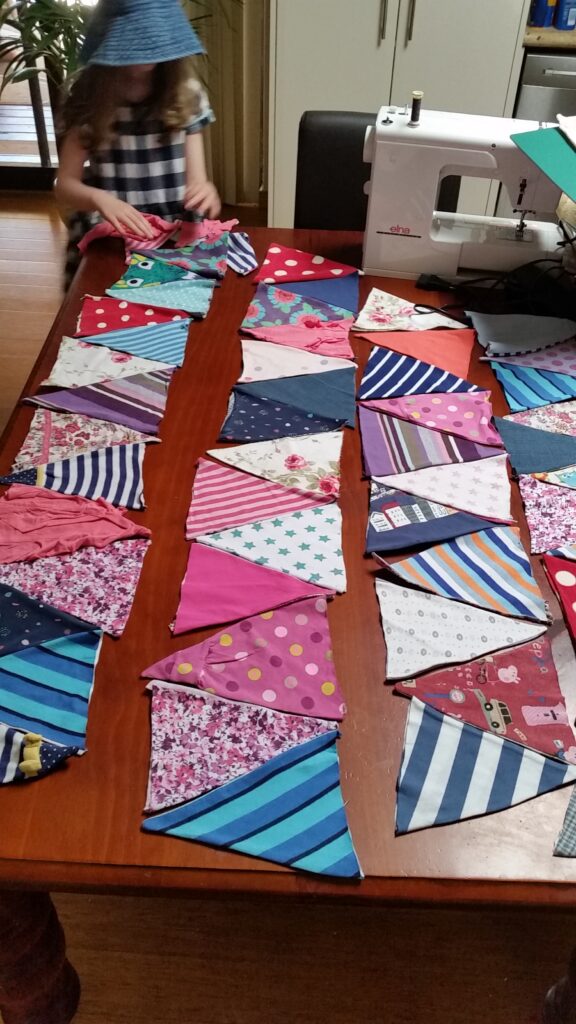
- Gather the clothes you plan to use. Hooray! more cupboard space.
- Cut a triangle template from cardboard, or use this one. Choose a triangle size that fits comfortably across most of the items. Newborn clothes will need a smaller one than 2-3yr dresses, for example.
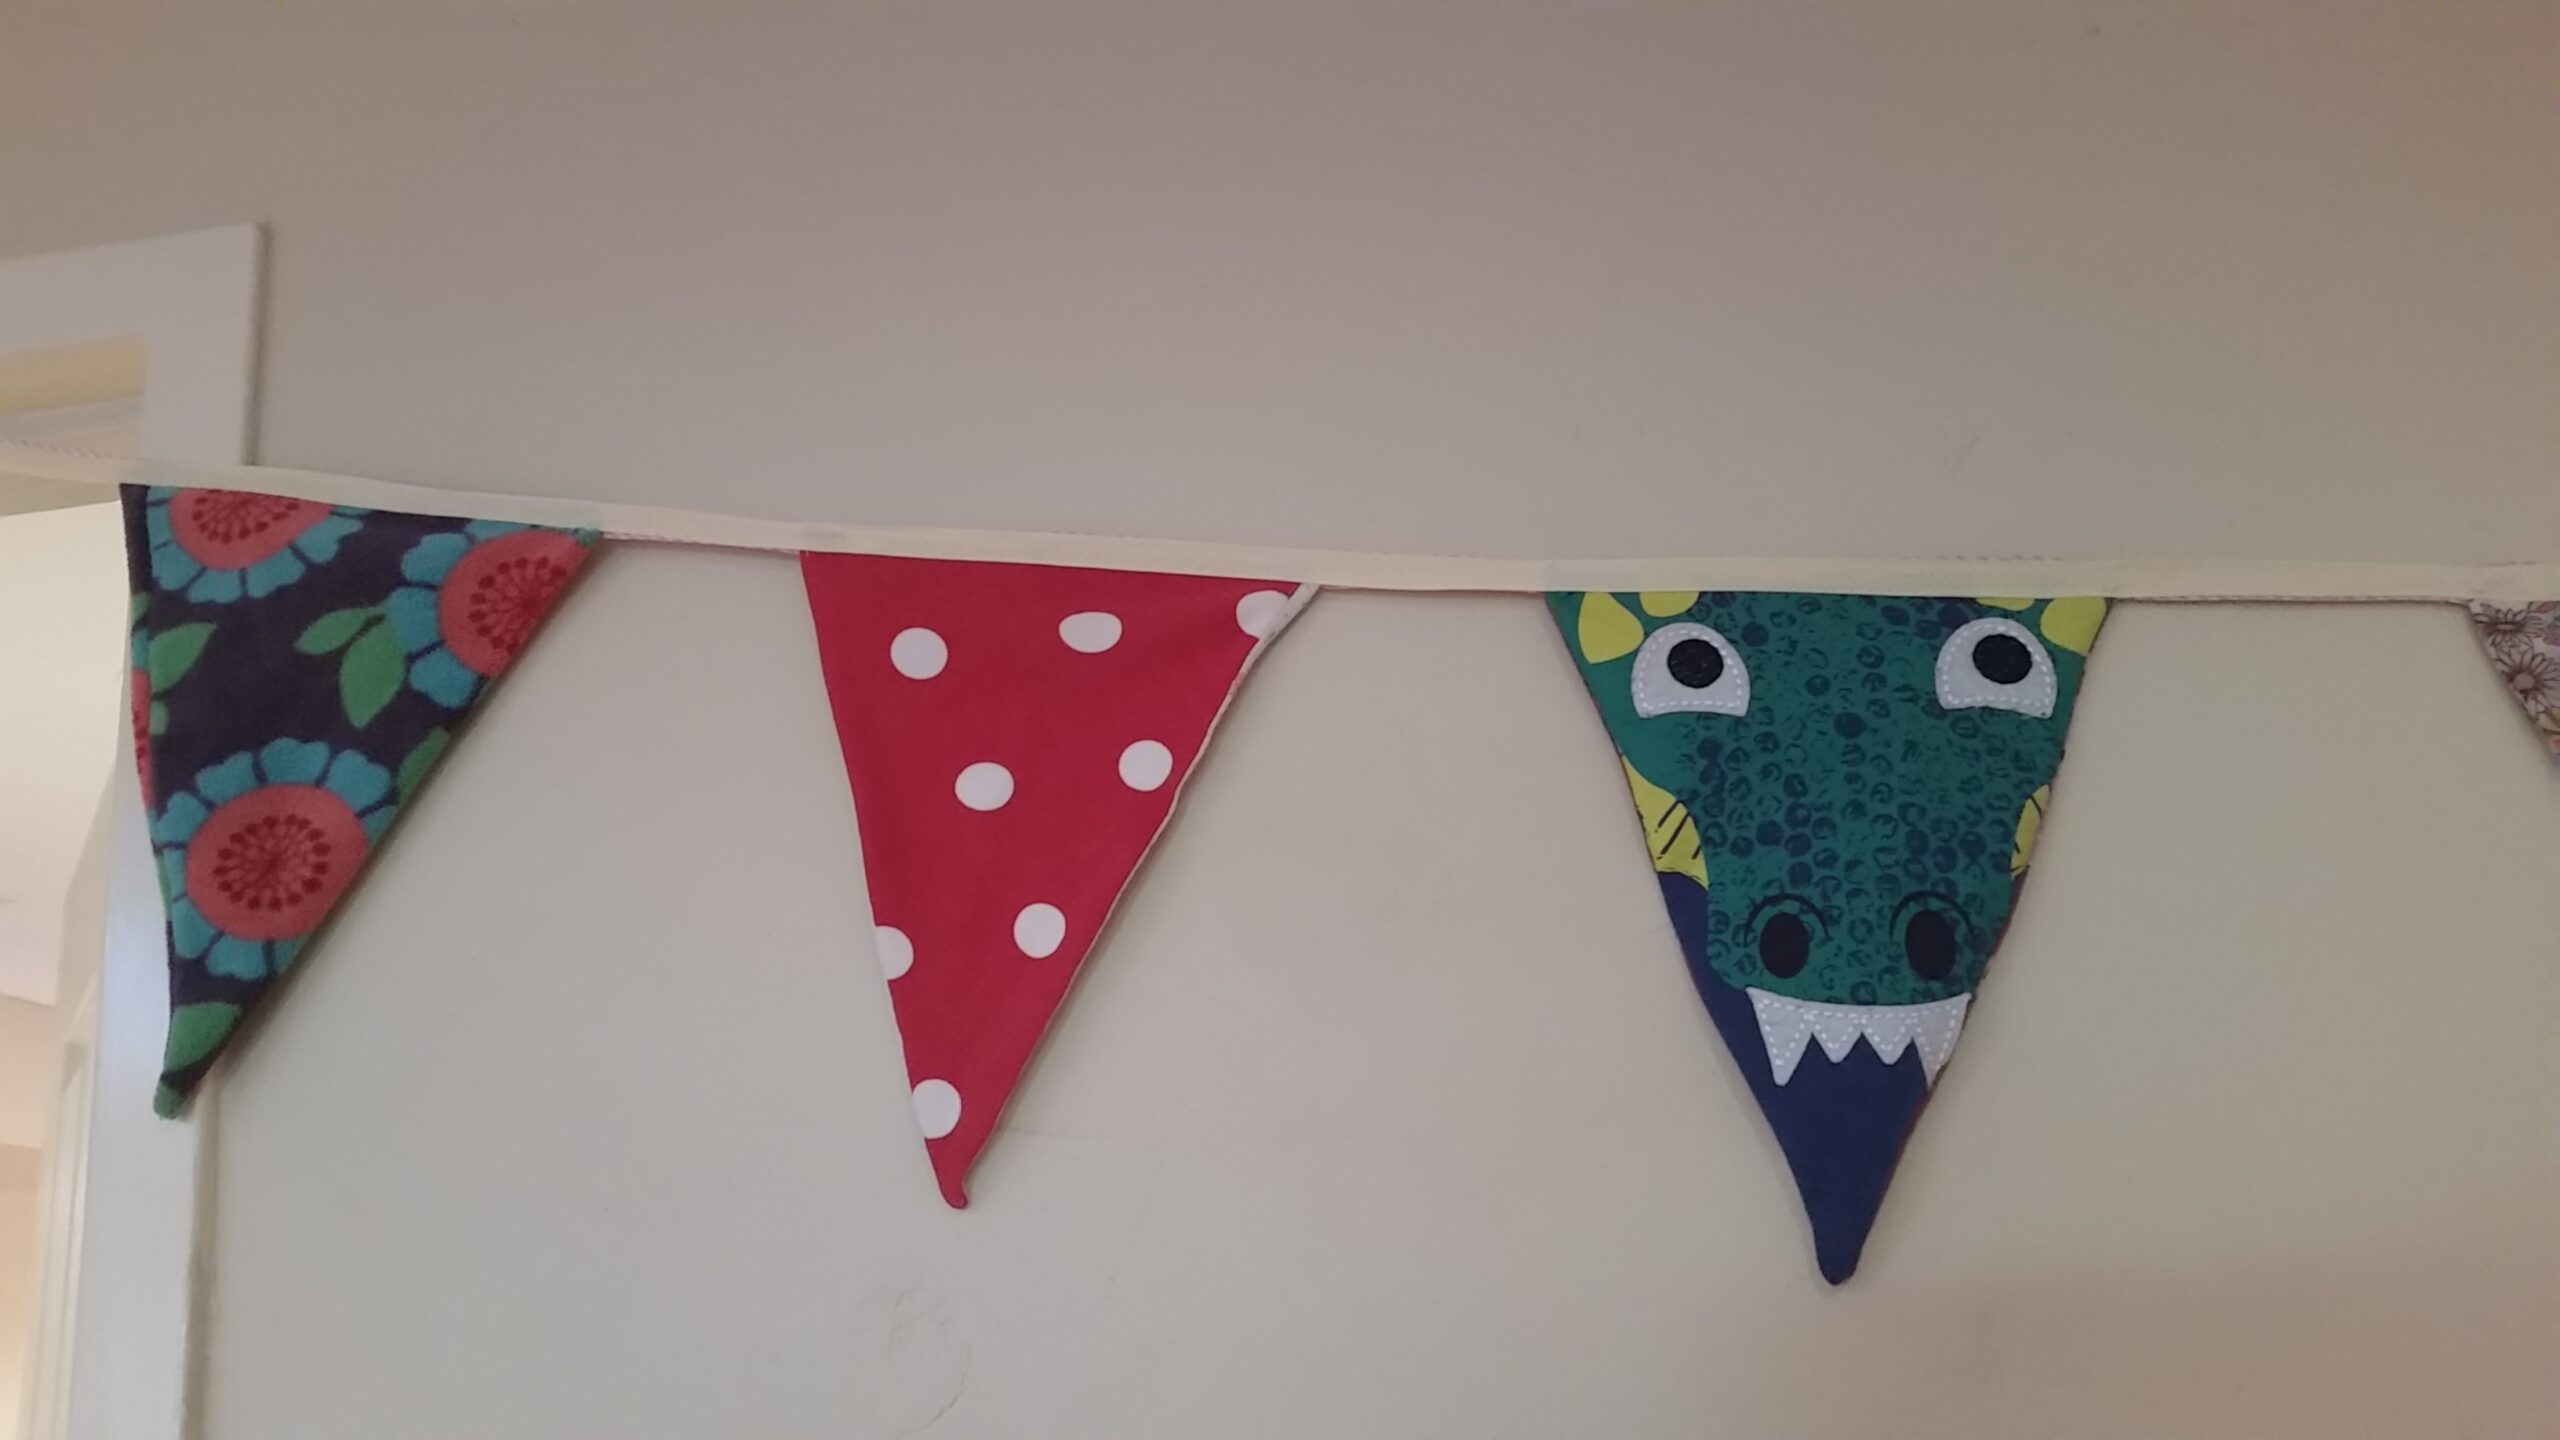
Cut out as many triangles as you can. Don’t worry about avoiding seams, as long as they are not bulky, but don’t include zips or buttons – they will break your needles. Ensure the pieces are largely uniform in shape – they will be easier to sew together and look tidier.
- Iron the triangles flat – this makes them so much easier to work with.
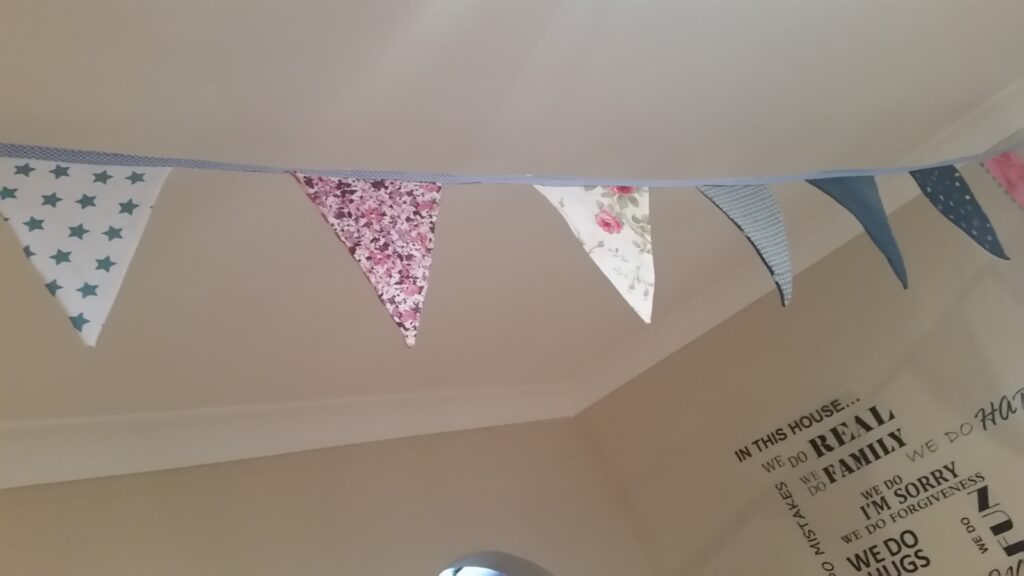
- Join pairs of triangles right side facing with a pin. I used different fabrics within the pairs, for some fun variety, but you could use matching bits.
- Sew up two of the sides, leaving one open
- Turn them the right way again to hide the seams and iron again:
– from the middle to the sewn edges to crisp up the shape.
– fold the remaining open seam inwards for each triangle, so that when you join it to the ribbon it is easily done in a single seam with no need to edge or zig-zag. - Cut the length of ribbon or bias binding you need (dont worry if you only have medium lengths – you can tie tidy knots in your bunting when it’s finished)
- Sew the triangles onto the ribbon using a straight stitch. Put one triangle, open seam facing your right, so that it’s the seam attaching to the ribbon (pin in place if necessary). Sew a nice steady seam attaching it on. Overshoot the triangle to leave a gap and then add the next one in the same way. Just keep going until you run out of triangles or ribbon. You can reinforce them with a second seam, or use zig-zag instead (but this can bunch with a light ribbon).
- Hang them up! Tie lengths together if you need them to be longer for hanging across the room, or create loops on the ends and hook on picture frames or discreet nails
- When you need to wash them, fold them concertina-style into a pile, tack a loop of cotton through the middle of the pile and tie it in a knot. This will prevent them from getting tangled in the washer or dryer.
- Re-use the scraps:
– Small sleeves and legs cut into 5cm widths make good hairbands
– Buttons can be costly to buy new, so snip them off to use again.
(Store in a glass jar with a lid)
– Bows and decorative bits can be snipped off and used later
– Clasps, hooks/eyes, reuse or recycle
– Poppers are a faff to take apart, so I cut them off. Metal ones can be recycled in a clean tin can and plastic ones in a clean plastic container.
– Pure cotton scraps can be added to your worm farm or your sheet mulching
– Synthetic fabric scraps can be recycled in bulk through some council schemes